Content Type:
Installation
Project Type:
Building
System Name:
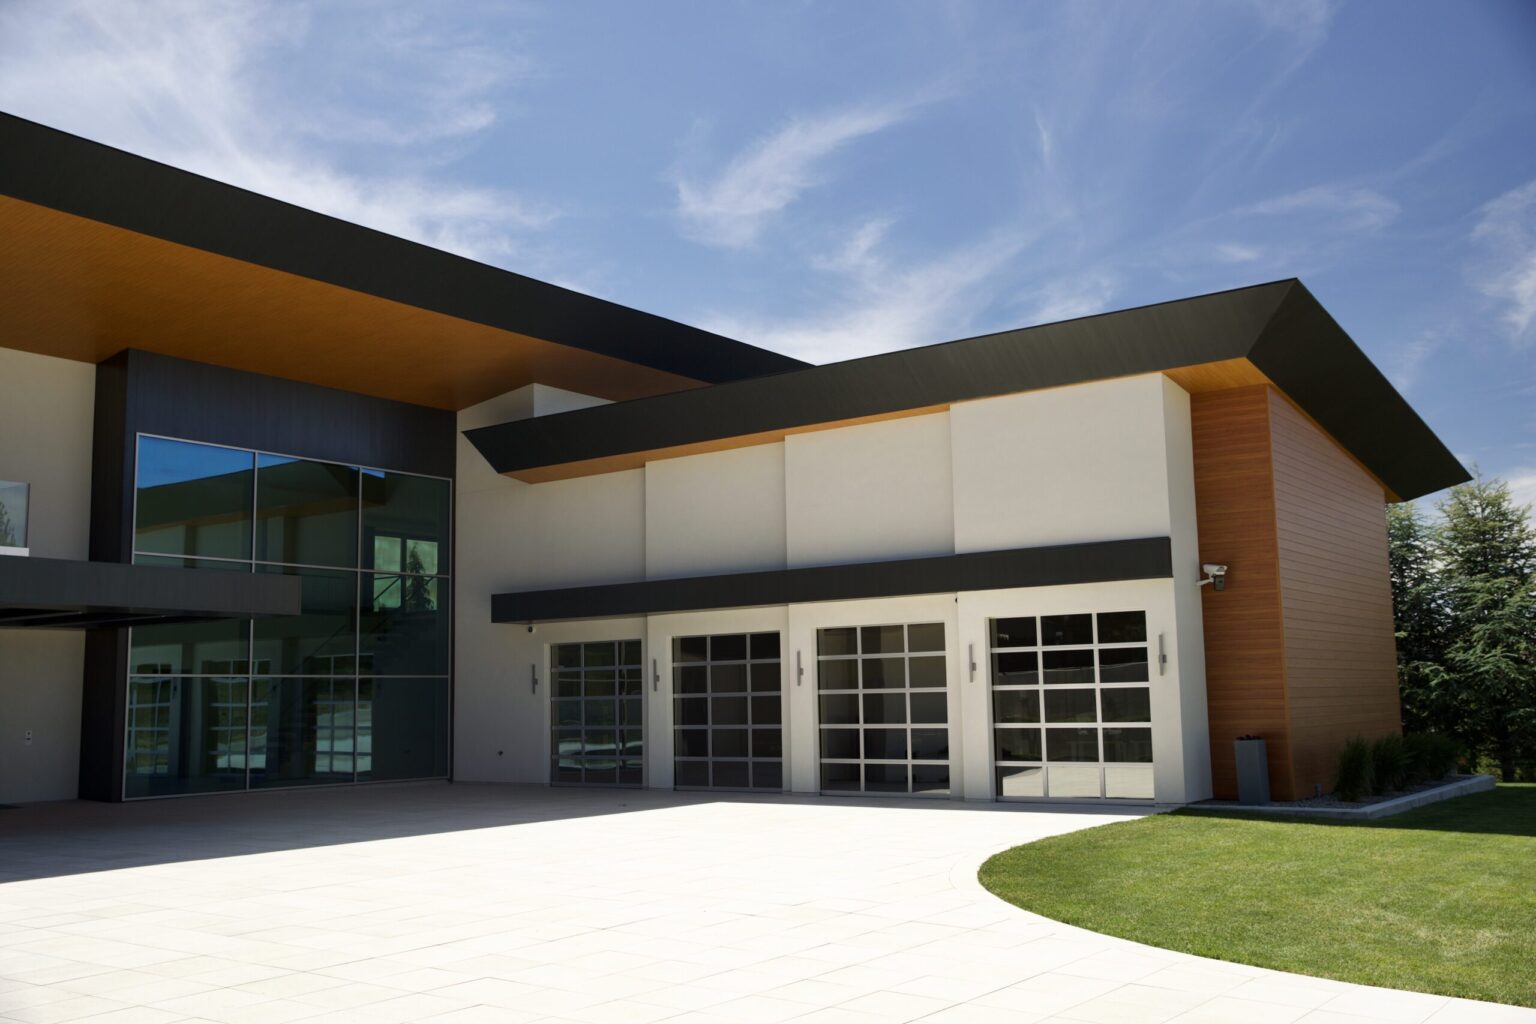
Siding, T&G Planks
Installation:
Exterior
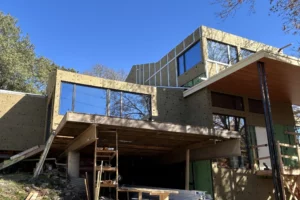
This guide walks through the trim options available at each wall condition. It assumes all prep work is complete, with tools, fasteners, and accurate measurements of the wall, windows, and penetrations available as outlined in the full Longboard Installation Guide.
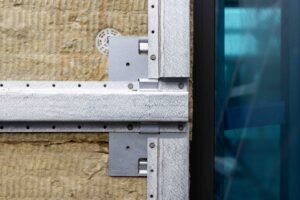
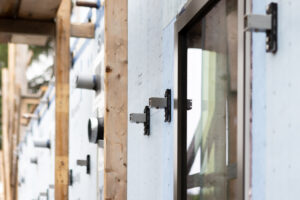
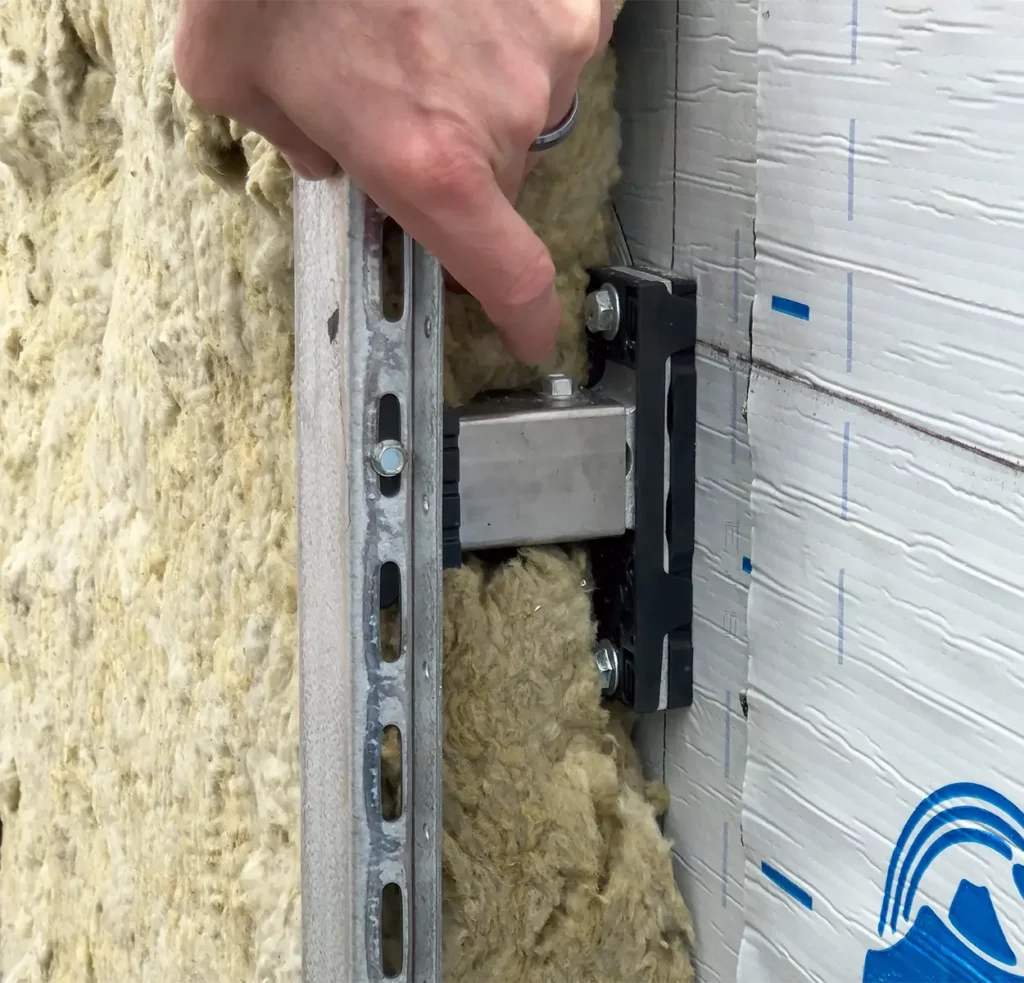
The system is manufactured entirely from aluminum, which necessitates careful management of thermal expansion. In a standard 24′ run, the material will fluctuate approximately ¼” (6mm) across a 54°F (30°C) temperature swing, meaning every component must be installed with movement in mind. Planks are generally secured using quick-screen clips at 32″ on-center, supplemented by a single hard fastener, typically at the center, to control the direction of expansion. The primary exception occurs at butt joints, where the hard fastener is placed directly at the joint. Most trim extrusions are hard fastened at 16″ on-center, while the back-to-back starter strip configuration requires clips on both sides at the same 16″ interval. While most trim arrives in 12′ lengths, T&G Reveals, T&G Corner Planks, and Traditional Compression Joints are supplied in 24′ sections. Final fastening patterns must be cross-referenced with the wind load span tables in the Longboard Installation Guide to ensure compliance with local jurisdictional requirements.
The system is categorized into three distinct aesthetic profiles that span nearly every trim variety. The Precision line offers the most slender profile, yielding a minimalist finish that requires high installation accuracy. Occupying the middle ground, the Craftsman series provides a refined visual balance while remaining more adaptable to onsite conditions. For those seeking a classic architectural appearance, the Traditional line features the largest profiles and offers the greatest degree of installation flexibility. Selecting between these tiers is ultimately determined by the specific visual intent and the practical requirements of the job site.
Installation typically commences at the corners, as they establish the sequencing for the entire system. When addressing outside corners, the Precision Outside Corner demands 45° mitered planks that are hard fastened to the trim. Because this creates a fixed point, an expansion-mitigating component must be integrated within 6′ to permit necessary thermal movement. The Craftsman Outside Corner offers a reliable, one-piece alternative that is secured to the substrate at 16″ on-center. For maximum versatility, the Traditional Corner Set utilizes a two-piece configuration where the base is fixed first, followed by a snap-on cap after the planks are positioned; this set is compatible with both inside and outside corner conditions. Specifically for inside corners, the Craftsman Inside Corner provides a direct-to-substrate one-piece solution, whereas the Traditional Corner Set remains the preferred choice when onsite conditions require greater installation tolerance.
When encountering wall conditions with corners that deviate from a standard 90° angle, two primary installation methods are available. The most direct solution involves utilizing two single-piece J-track extrusions positioned in a back-to-back configuration. This arrangement establishes a natural reveal and maintains the standard component sequencing without introducing technical complexity. For projects requiring a more sophisticated aesthetic, a two-piece J-track system can be employed on both sides of the transition. By securing the bases with precise alignment and applying 2″ Traditional Offset Reveal Caps, installers can achieve a refined, nearly seamless visual continuity across the non-standard corner.
When addressing windows, doors, and similar wall penetrations, J-track extrusions are utilized to manage the headers and vertical perimeters. Single-piece J-track is offered in the slender Precision (⅝”) and refined Craftsman (⅞”) profiles. For enhanced installation flexibility, the two-piece J-track configuration includes a Traditional (1-⅜”) option and streamlines the sequencing; the base is secured first, allowing planks to be positioned flat against the substrate, eliminating the need for angling, before the cap is snapped into place. For the undersides of windows and various electrical or lighting penetrations, the Termination Set provides the necessary integrated support for concluding a run. This component is engineered to stabilize ripped planks and prevent inward caving, ensuring a consistent finish. These sets are available across the three aesthetic tiers: Precision (⅝”), Craftsman (⅞”), and Traditional (1-⅜”).
Initiating the installation sequence involves two primary configurations. The Starter J-Track utilizes the established aesthetic profile of the standard J-track while incorporating an integrated tongue to engage the first course of planks. Conversely, the Starter Strip is designed to achieve a minimalist, trimless visual that delivers a seamless finish at the base of the wall. Both components are typically secured at 32″ on-center, utilizing quick-screen clips at identical intervals to facilitate essential moisture management and proper drainage.
For wall elevations exceeding 24′, the system necessitates the integration of either a reveal extrusion or a staggered butt joint to accommodate thermal expansion. Utilizing a butt joint increases this permissible threshold to 40′ before a reveal is mandatory; however, these joints must be vertically staggered, and only one may be used per horizontal run. Reveal trims are positioned perpendicular to the cladding and are offered in both single and two-piece assemblies. The single-piece category includes the Precision Flat Reveal (providing a 17/36″ profile with ¼” movement capacity per side), the Precision T&G Flat Reveal for a nearly seamless aesthetic, and the panelized shadow lines of the Precision (¼”) and Craftsman (⅜”) T&G U-Reveals. For projects requiring greater onsite adjustment, two-piece configurations are available in the Traditional Flat Reveal, Craftsman U-Reveal, and Traditional U-Reveal sets. To ensure long-term performance and simplify the installation of staggered connections, the T&G Butt-Joint Fastening Kit is recommended to mitigate the risk of separation.
Concluding a course requires the application of a two-piece Termination Set, positioned parallel to the siding, most frequently at the top of a wall or along window sills in horizontal orientations. Consistent with the broader system architecture, these components are available in three distinct aesthetic tiers: Precision (⅝”), Craftsman (⅞”), and Traditional (1-⅜”).
On multi-level developments where through-wall flashing isn’t mandated, the Compression Joint serves as the critical mechanism for regulating inter-story movement. This component is especially effective in timber-frame builds, accommodating the inherent settlement and shrinkage that occurs as the wood cures. Integrating these joints at every floor level ensures the assembly maintains its structural integrity and long-term performance.