Greg Steinbichler, Owner and General Contractor at North Build, spent his early years working alongside his father in the family construction business, developing an early understanding of all that goes into a finished building. Later on, within two years of graduating high school, he completed a carpentry apprenticeship, followed by gaining hands-on experience in installing before expanding into an end-to-end project manager role that he has today.
Steinbichler now brings more than 25 years of experience within high-end custom homes, multi-family dwellings, commercial projects, institutional builds, and exterior envelopes across British Columbia. His approach to each project is shaped by the same principles instilled by his father during his early days, including a commitment to quality communication and craftsmanship. “My father always tells me that businesses are built on honest client relationships first, and then, technical know-how”, states Greg.
Greg has extensive experience with challenging products and unique solutions, especially in terms of interior ceiling projects. These systems frequently pose challenges, particularly in complex installations, such as those requiring aircraft wire assemblies and special considerations for wood products.
Therefore, when Greg was given the task of installing Dauntless in the lunchroom at Longboard’s Manufacturing Facility, he anticipated a difficult installation like his past projects. “I followed the same protocol I usually do when installing a new product. I looked at the manual of Longboard’s Dauntless system, got out all the components, but instead of a long drawn install, everything clicked right away. It was relatively easy to figure out.”, he states.
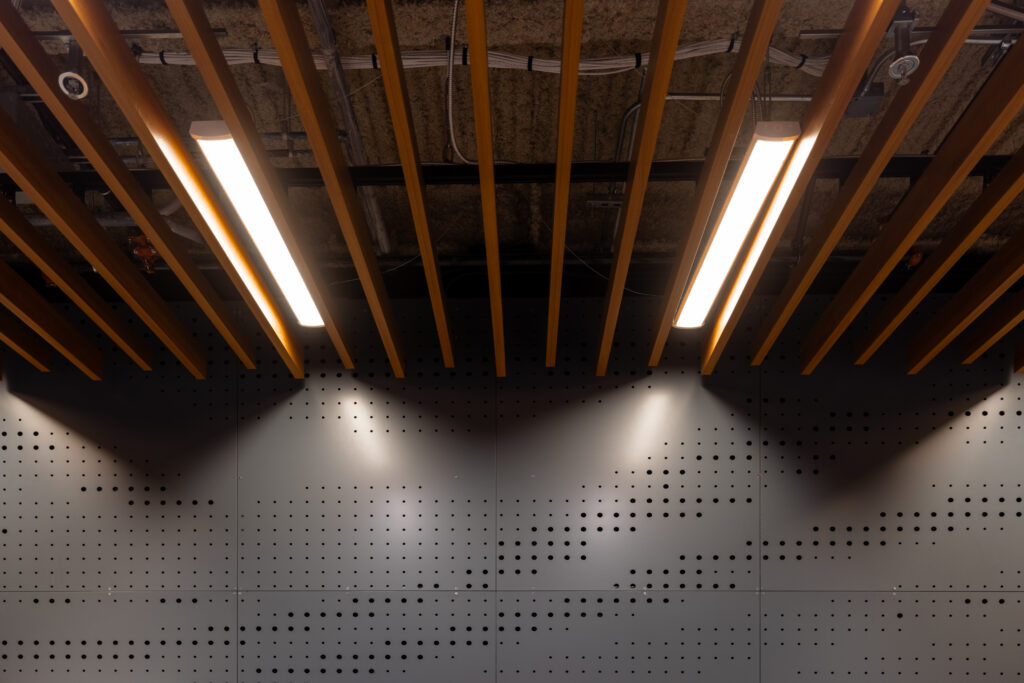
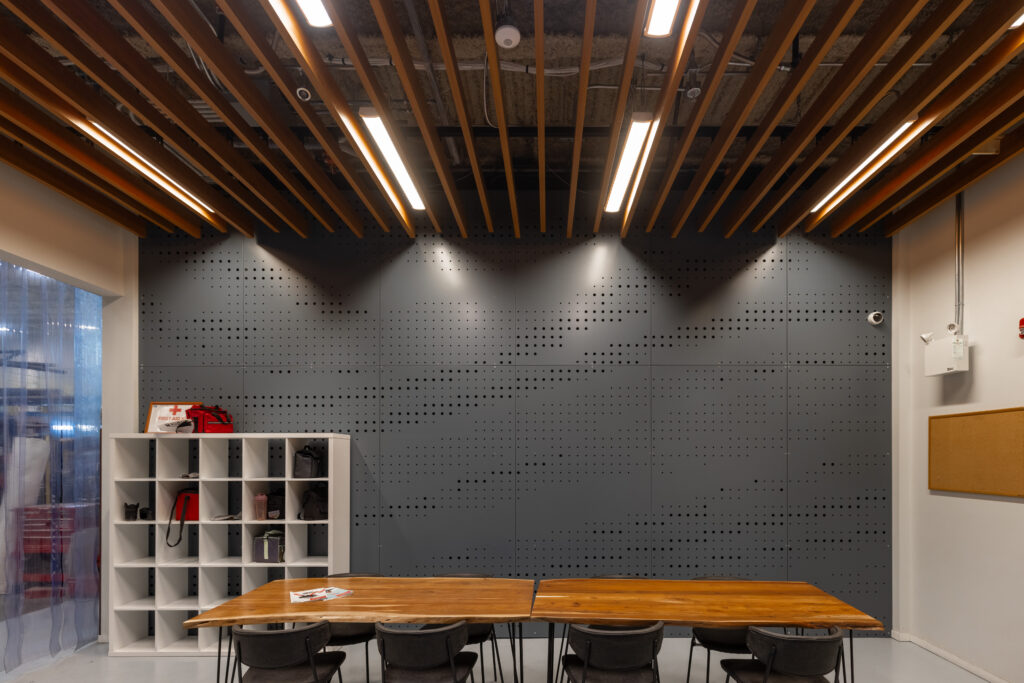
Dauntless Install in Longboard’s Manufacturing Facility Lunchroom
Dauntless is Longboard’s open-joint extruded aluminum baffle ceiling system built around a clip-and-rail suspension mechanism. Dauntless’ open-jointed profile allows unobstructed air movement through the ducts and enables individual baffles to be removed without disturbing adjacent panels. The system is available in two configurations, baffle for continuous horizontal lines, and curve for geometric variation along the profile.
For Greg, what distinguished Dauntless from the wood systems he had worked with previously was not aesthetic but material. “I’ve always used wood products,” he says. “It’s good for the overall look, but the best part about [Dauntless] is there’s really no external factors that you have to worry about when it comes to warping, twisting or splitting. You don’t have to carefully select the material.” He pauses. “It’s essentially a perfect material, and even looks just like wood.”
Before Greg starts on the installation, he establishes the layout on the floor to verify what the design will look like. “First off, I lay everything out on the floor, the main rails with all the necessary spacings,” he shares. “That way, I can make sure the design actually works for the space. If something’s wrong, I’ll know right away and can fix it before I start putting anything up.” According to Greg, a layout discrepancy identified at floor level is resolved in minutes rather than one discovered mid install. The latter carries a significantly higher cost in time, materials, and manpower.
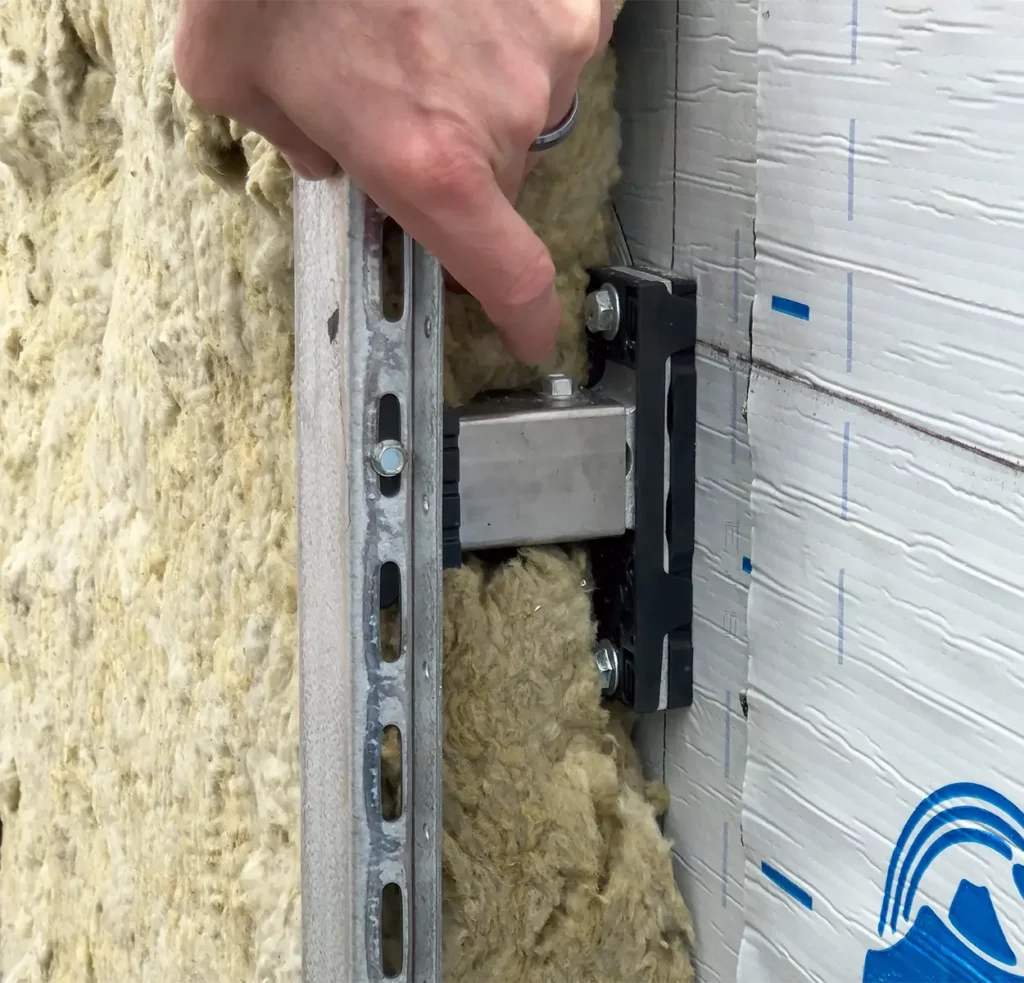
Laying out the materials on the floor is crucial to understand the components of the Dauntless system and, while the baffle is the only visible component, any error or missed step in this five-component sequence will be obvious.
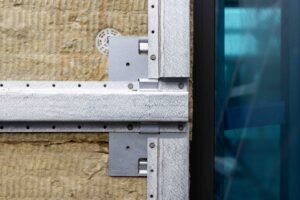
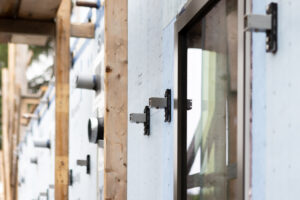
Dauntless comprises of the following five key parts:
- Eyebolt: Anchors into the structural substrate above and attaches to the rail below.
- Rail: Spans horizontally between the hanger and eyebolt, holding both in place.
- Hanger Clip: Drops from the rail.
- Baffle: Clips into the rail via a hanger clip.
- End Cap: Closes the terminal end of each baffle run.
Greg explains the clear advantage of the Dauntless system over traditional aircraft wire. “With aircraft wire, you have to fasten clips at specific locations, loop the wire around, and adjust each piece individually.” Traditional aircraft wiring is tough to install, requiring repeated height setting, clip attachment, wire looping, and tightening for every panel. In contrast, the Dauntless system streamlines the process. The design allows panels to slide laterally for precise positioning without compromising the fixed height. After the rail is secured and levelled, panels simply clip into place, automatically aligning with the rail.
“All you need to do is set your two or three points on the single rail,” Greg explains, “and then your Dauntless panels slide down the rail, making your layout essentially perfectly set. And it allows you the flexibility to make fine-tune adjustments later.” That adjustability, he notes, has a direct effect on how an installation unfolds on site.
“Overall, the installation process is clean,” he states. “Practically plug-and-play since it hardly needs any ceiling mounting points. You won’t waste time setting up each beam individually. And, once the main rails are up, the Dauntless parts just slide right into the track.”
The lunchroom project also required a sprinkler head integration. “We did have the sprinkler heads that we had to finesse in there,” Greg says. “The procedure was done very carefully.” Dauntless baffles are typically installed beneath the sprinkler heads. The standard procedure for this installation requires custom covers created on-site. These covers allow the sprinkler heads to be moved just under the panel line while preserving the necessary fire coverage.
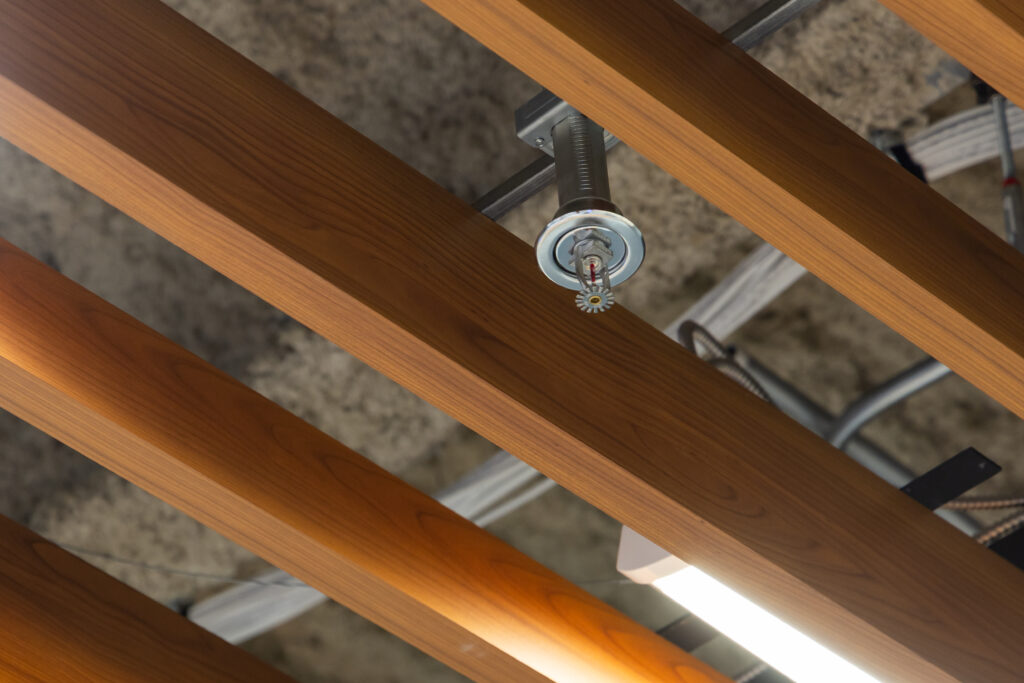
“It’s good that the designers were very inclusive,” Greg says, “because sometimes what’s drawn on paper may not be the easy way to complete the design without making it overcomplicated.”, this is a significant challenge because the exact solution depends on the specific site, and cannot be determined solely from architectural drawings, making coordination between designers and installers essential before work begins.
For architects and building owners using Dauntless, Steinbichler speaks on the system’s looks and maintenance. “The great thing about Dauntless is that, unlike wood systems, you don’t have to constantly check it for moisture damage, warping, or surface degradation, it’s good-looking, and easy to clean,” Steinbichler says. “All it needs is an occasional wipe-down with a rag.”
For contractors installing Dauntless for the first time, his advice is straightforward. “The first time, spend some time getting to know the product. But when you’ve done it once, it’s a piece of cake after that.” From a contractor who came to the system as a first-time user, that is a conclusion worth remembering.